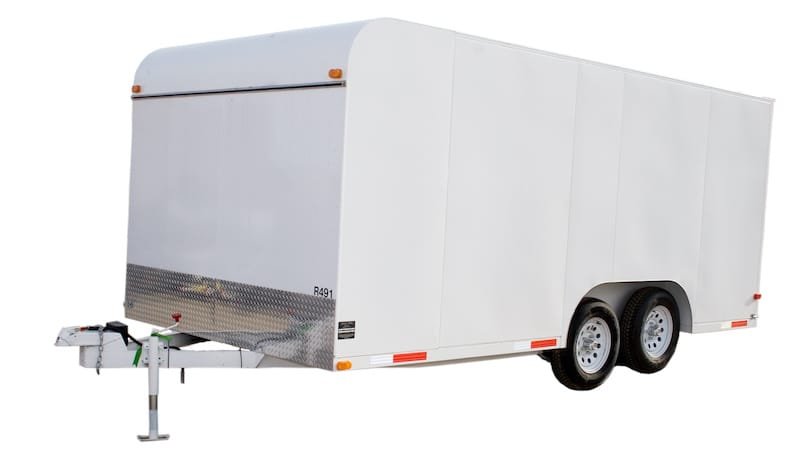
 You want to get the most out of your trailer and you know that a well-painted surface can enhance its aesthetic appeal and functionality. You can even customize the color to match your branding, which will make it easier for customers to identify your products. This blog explains the process of trailer painting.
1. Cleaning the Surface
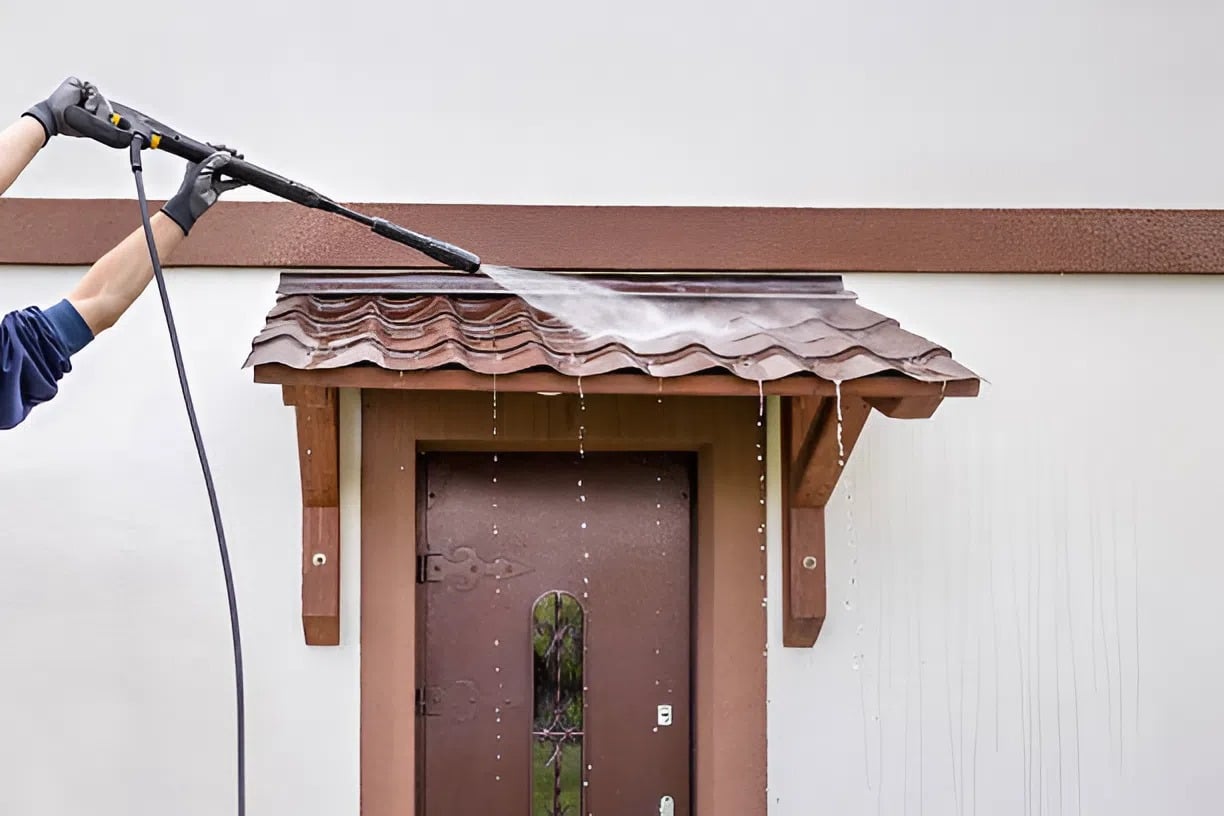
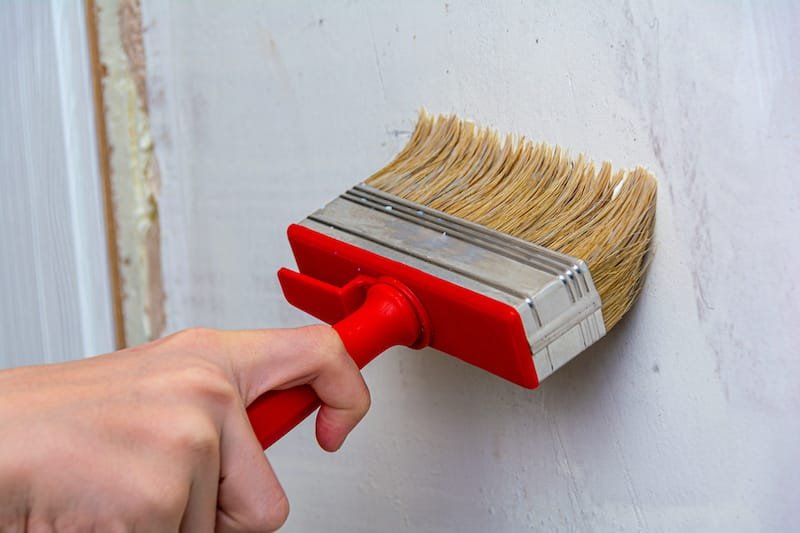
Before you embark on trailer painting, make sure that you remove all dirt, grease, and oil from the surface. Use a strong detergent to remove dirt and grease. If necessary, use a solvent like turpentine or paint thinner to remove oil. Do not strip paint with abrasive cleaners. These will damage the surface of your trailer, which may result in rusting or chipping of paintwork. Allowing moisture to seep into cracks through woodwork around windows could damage your trailer. Do not use steel wool when cleaning your trailer. This can scratch the surface, causing it to rust prematurely and look duller than it would otherwise appear.
2. Prime Before Trailer Painting
 The first step in painting a trailer is to prime the surface. Primer is a basecoat that allows paint to adhere to and stick to the trailer. It prevents corrosion, sealing out moisture and air, creating a barrier between the metal and other materials (like dirt), insulating against heat loss or gain, etc.
3. Painting Base Coat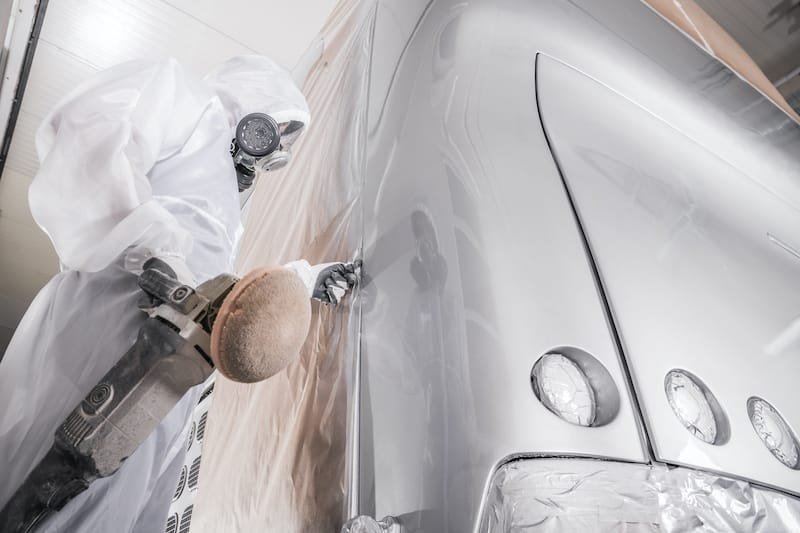
When you are painting the basecoat of your trailer, make sure to apply a thin coat. If you do not apply enough paint and let it dry, you will need to go back over the area again with more layers. This may result in uneven coverage or other issues.
With a brush or roller, apply one thin coat of paint across an entire section of your trailer (a few feet wide). Let this dry completely before moving onto another part of the vehicle and repeat again until everything has been covered twice.
4. Applying Clear Coat for Trailer Painting
 The final step in the painting process is applying clear coat. Clear coat is a protective layer that keeps paint from chipping or fading. It is also used to give it a glossy finish and make it shine. Apply clear coat after the basecoats, as they will ruin all your hard work by soaking into the wet surface before drying out again. After allowing at least 12 hours between base and clear coats (24 hours if using an oil-based sealant). Apply thin layers of automotive paint thinner or lacquer thinner with a high-quality brush. Avoid using rags because they can leave lint behind when wiped off later. This could cause unsightly marks on top of your newly finished product!
5. Trailer Painting Enhances Aesthetic Appeal and Functionality 
You can choose from a variety of colors, patterns and finishes to create a unique look for your vehicle that reflects your personality or business. The process begins with cleaning and priming the surface before applying basecoat paint followed by clear coat finish for protection against rusting or chipping over time.
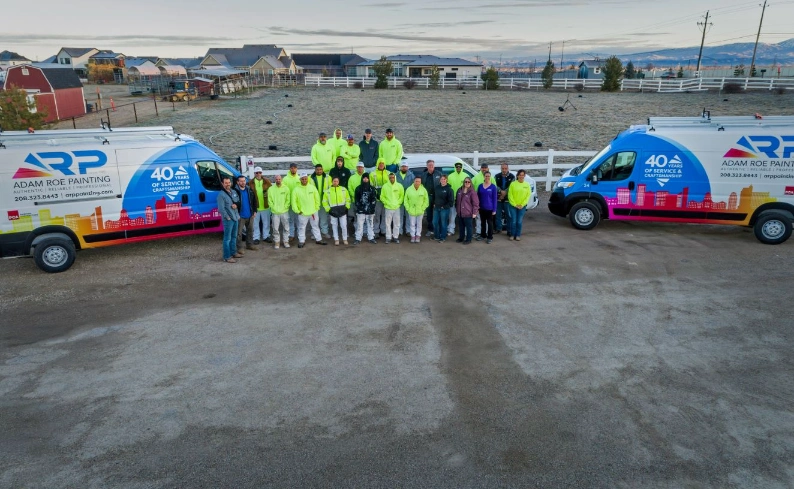
About Adam Roe Painting in Meridian, Idaho
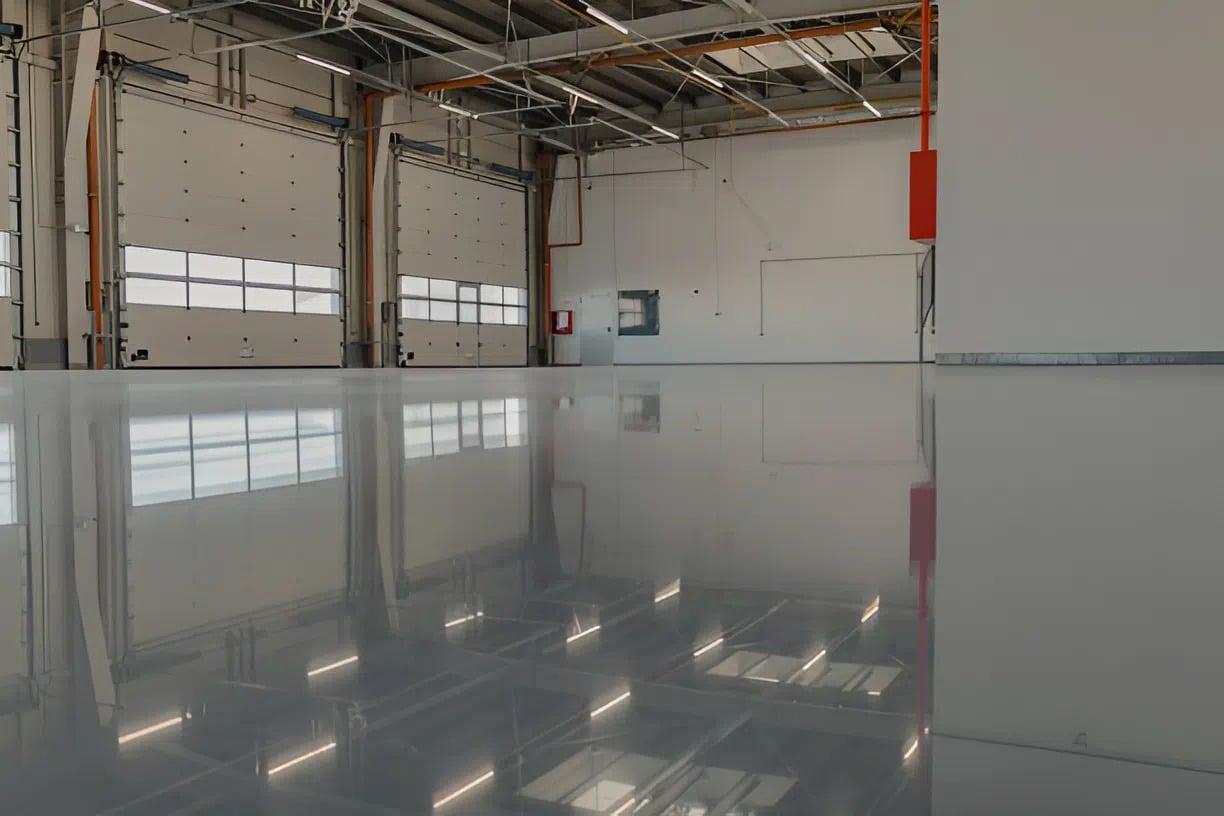
 Since 1985, Adam Roe Painting has provided the highest quality results and best customer service in the industry. Our professional crews can apply high-performance coatings to a wide range of surfaces. We understand the importance of preparing and coating surfaces to meet safety standards and stand the test of time. Our industrial floor coatings protect against harsh environments and corrosive materials often found in commercial settings. We offer custom color matching, a residential exterior warranty of 5 years, and a one-year warranty on commercial and industrial projects. Contact us online or call (208) 306-4240 to discuss your project. We look forward to working with you.